Configure app filters
You can add one or more filters to an analysis app to specify the cases you want to examine in that app.
An app filter is automatically applied to all components added to the app.
If you use your own event logs in the current analysis, you can select an event log that is applied to all applications of the analysis. However, you can also select a different event log that is only applied to a specific application of the analysis.
Move the mouse pointer over an app of an analysis in the Project panel.
Click the ... More options icon.
Click
 Configure filters. The Configure filters panel opens. If you have already configured project filters or analysis filters, these filters are also displayed in the Filter panel. Project and analysis filters are automatically applied to all analysis apps. You can edit the project or analysis filters only in the Configure project filter or in the Configure analysis filters dialog, respectively.
If you use your own event logs in the current analysis, the Configure event log and filters panel opens. In this case, you can select an event log from the corresponding drop-down menu that is also available in the panel.
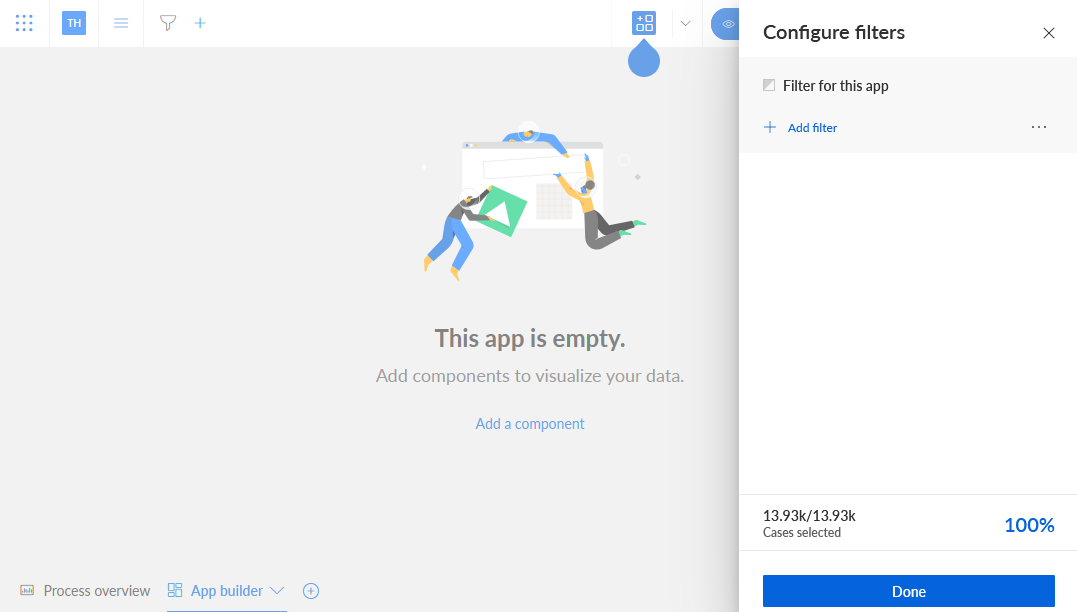
Click + Add filter. The corresponding dialog opens.
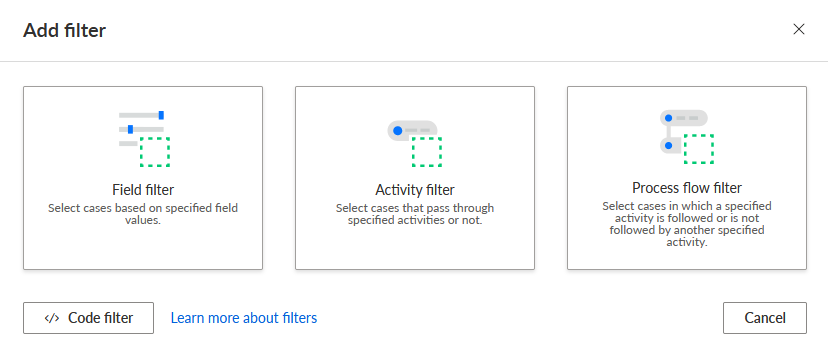
Select the filter method for the app filter. A corresponding editor opens.
You created an app filter. The filter is added to the Configure filters panel and the analysis header.
Example
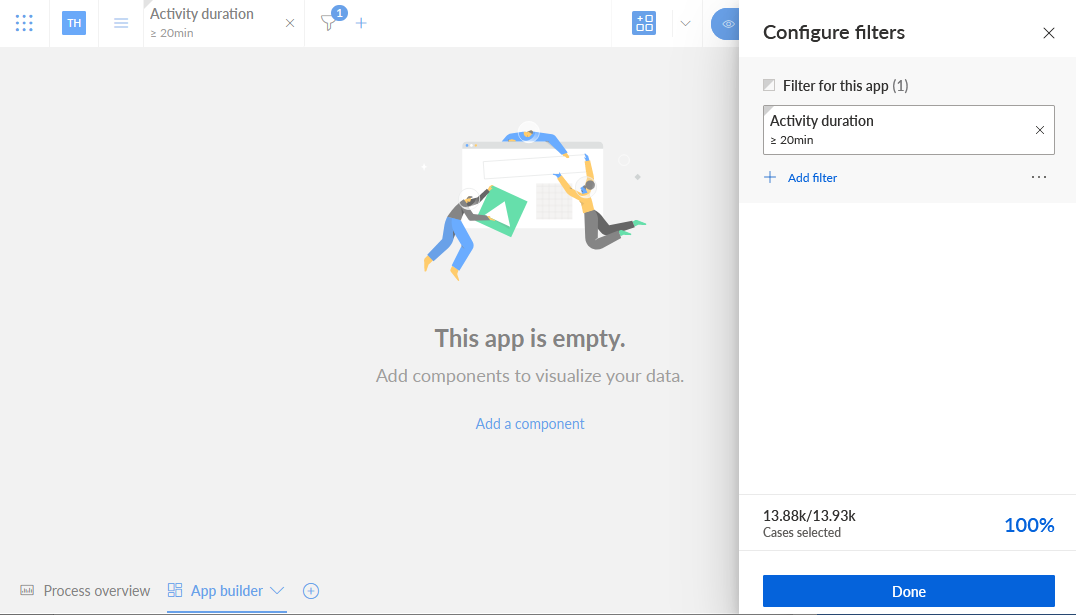
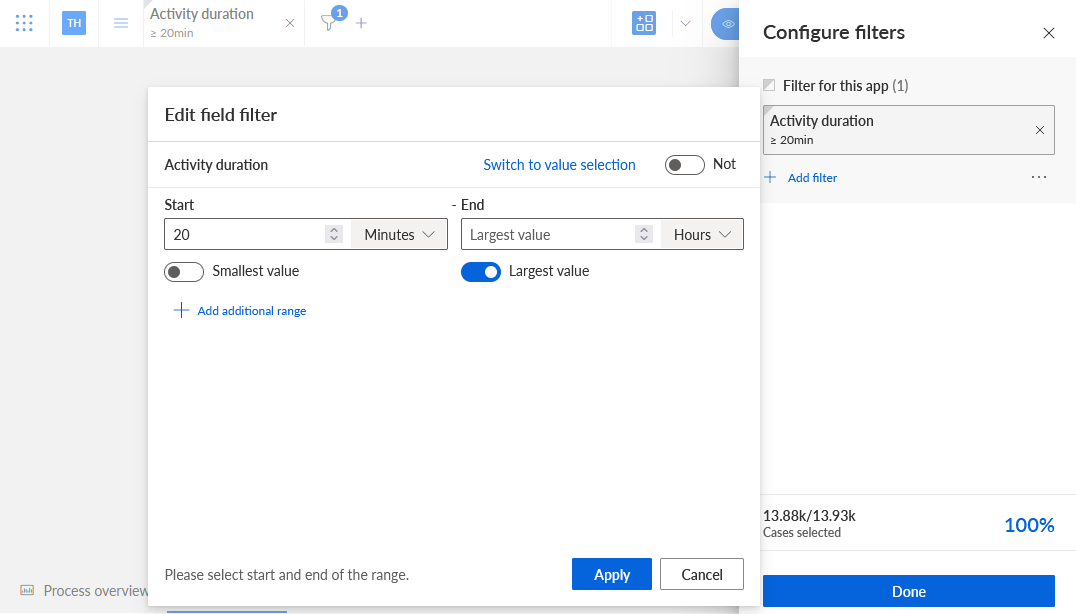
To edit the filter values, click a filter in the Configure filters panel, specify the values to filter, and click Apply.
Example
Click Done.
You have configured filters for the selected app.
To remove an app filter, click the x Remove icon of the relevant filter in the Configure filters panel. To remove all filters, click the ... More options icon -> Clear all filters.
When you switch to another app, the app filter is no longer displayed in the analysis header.